Construction:
I used a cereal box to make my camera obscura, mostly because it was longer and I knew I would have enough cardboard to make the inner and outer boxes. I started by just cutting the box in half and taping the ingredients end to the one long side.

I covered the outer box with some paper (brochures!) to make it a little more light tight so you couldn't see through the cracks in the sides. For the inner box, I had to keep cutting off little pieces of the sides so it would easily slide in and out of the outer box.

I made an X on the front of the box and cut a square a little smaller than the lens, then taped the lens inside the box. This was me trying to pull out the flaps that were still in the box so I could tape the lens in better and make it more stable.

I used a plastic bag for the screen and pulled it tightly around the edges of the inner box. I left the two little flaps at the top and bottom because the bag kept moving, and it was difficult to keep the bag tight and tape it at the same time.

The inner box fit and slid around nicely, and it seemed dark enough inside the box! Then I went to try it out!
Images:
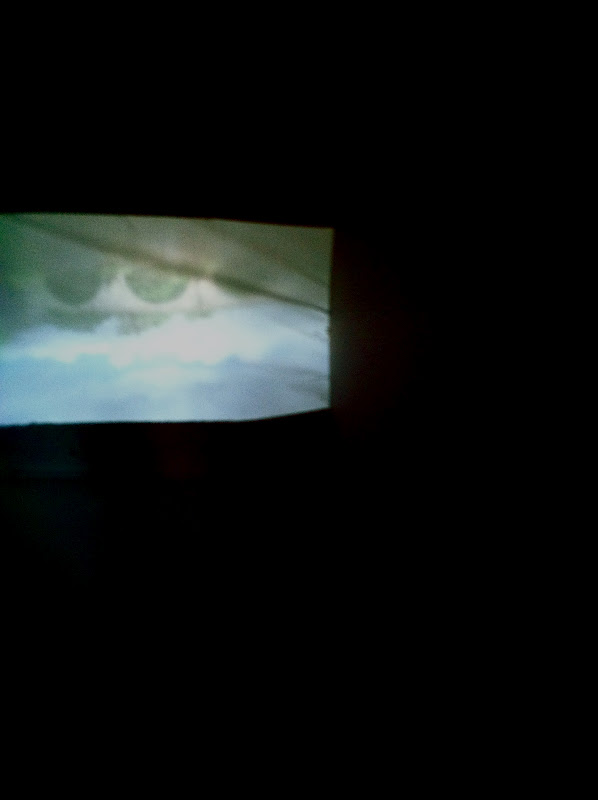
I had a bit of trouble getting my camera to focus on the image of the screen, even with the macro setting on. I ended up taking most of the pictures with my iPhone, which came out clearer and more focused. My phone was more difficult to fit in the box, however, so much of the camera obscura is visible in these photos. I almost don't mind though, because it gives the photos a nice frame and reminds me of how we talked about the cropping of images.
It rained off and on the few days I went out to take pictures, so sometimes the lens had raindrops on it (my camera is also now a little soggy). A lot of my pictures were very light, so I'm thinking my camera obscura was not covered enough and just let in too much light. I had to edit these a bit to make the image more recognizable, so they're not very detailed, but I do like the way they turned out in the end.

Yard on St John Street
24 June 12:17pm
A lot of the photos came out better when the sky was in the picture, and it was easier for me to see where my subject was settled. I wanted to balance the sky with the green grass of the yard, so the buildings and road make a sort of X around the grass and sky.
Stirling Bridge
22 June 1:13pm
I actually took this while riding on the bus, so I'm surprised at how well it turned out. I took a few in a row in hopes of capturing a good photo of the bridge, so my own ideas of how to frame a shot had little to do with how this one turned out.
Church near The Thistles
22 June 12:41pm
One of my first projects in my photography class in high school taught us to try different angles of shooting, so I tried to shoot looking upwards at the top of the church. I also tried to follow the rule of thirds, also one of the first things we learned about, and moved myself so the church was not quite in the center of the photo.

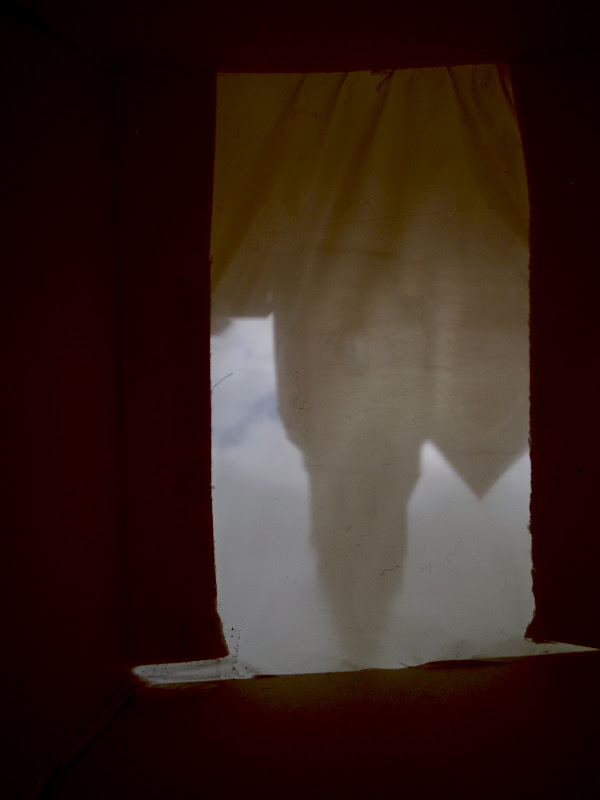
School in Old City
24 June 12:12pm
I thought about the rule of thirds with this photo as well and placed the door off to the side (it's kind of difficult to see in this smaller image). I really loved the purple of the flowers in front of the grey building, which is why I decided to shoot straight in front of the door instead of perhaps off to the side or closer up.

Murray Place
22 June 12:53pm
I always love how busy this street is, and considering it was the first part of town I saw, it just defines Stirling for me. Again with the rule of thirds and the sky brightening the picture, I tried to capture the skyline and have the buildings angle through the photo to lead your eye back to the rest of the street.
Though I ran into some minor issues while building and shooting, I'm glad I got to build my own camera obscura and try it out. I was really excited when I first held the finished camera up to the light and I could see an image! It was definitely an interesting experience.
No comments:
Post a Comment