Pringles can
cutting knife
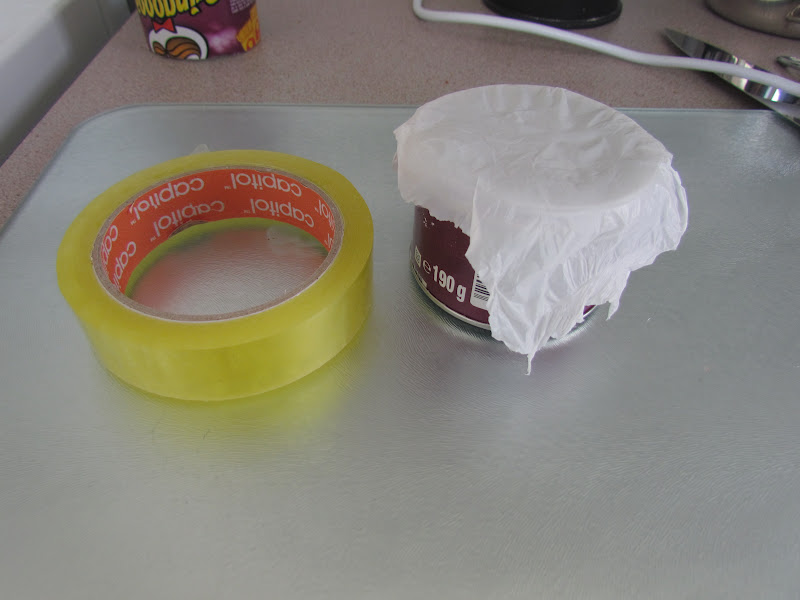
tape
notebook paper
plastic bag
cork screw
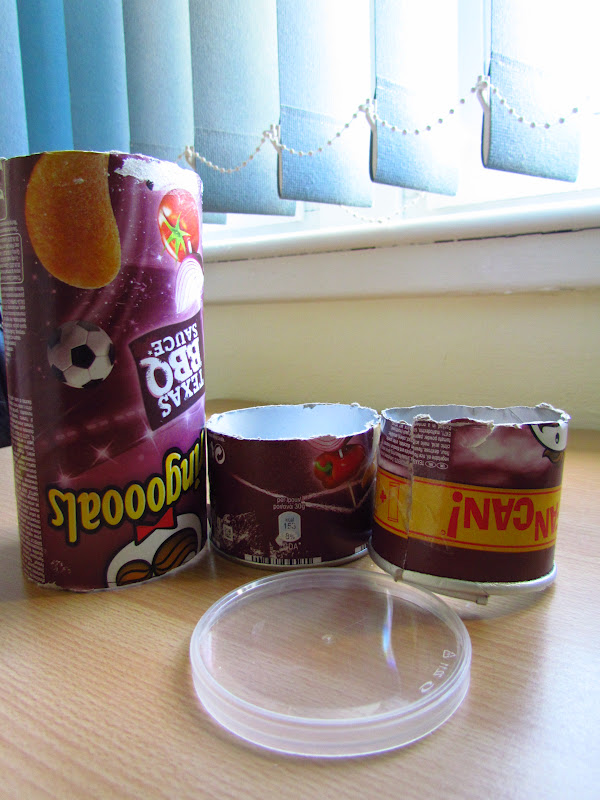 | |
| Parts of the camera: I cut the Pringles can into 3 parts- The large part is the main portion of the obscura camera, the bottom of the can will serve as the light source and where the provided lens will be fastened, and the top of the can that will be placed inside the large portion of the can and serve as the screen. This part will also focus the image shown on the screen. Part 2. I cut this part down one side as to make it smaller so that it can fit inside the larger part. This allows the screen to be focused when sliding this part back and forth. I attached the plastic bag taut across the top so that it acts as a screen. |
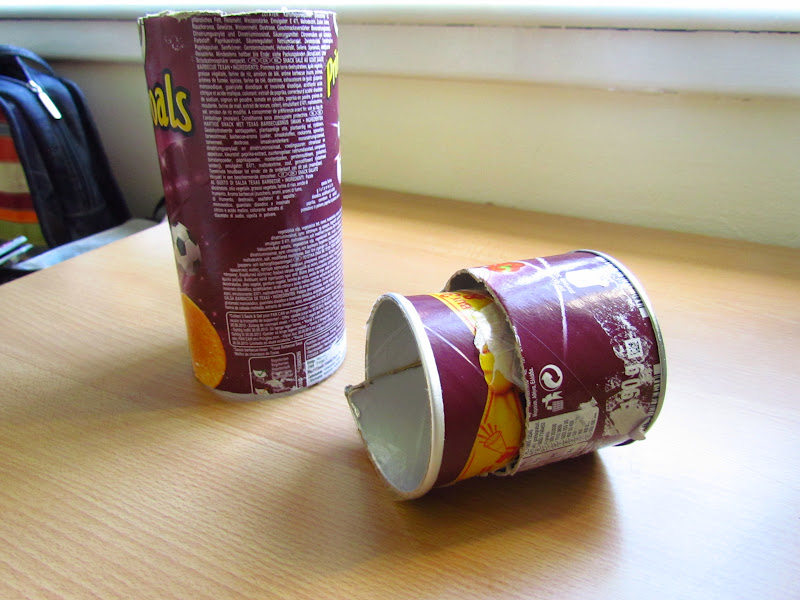 |
| I placed the screen part towards the bottom of the can where the hole for letting light through is located. |
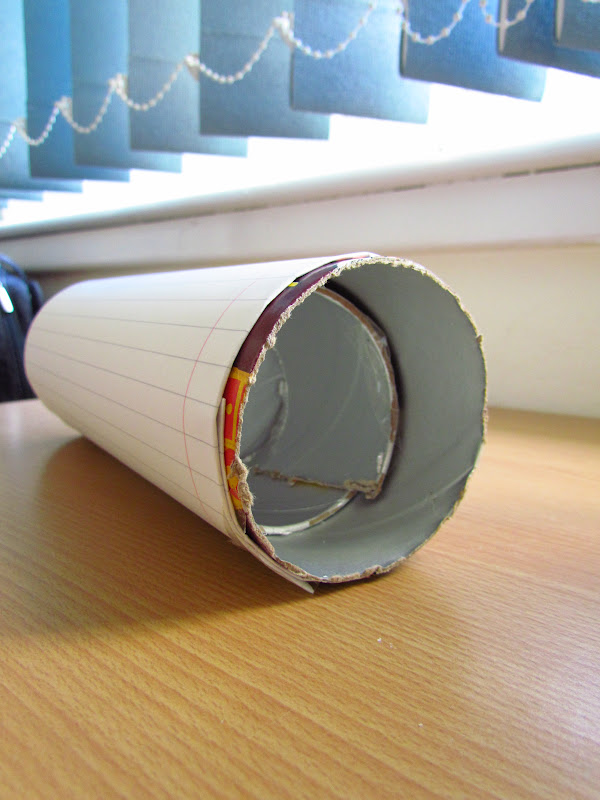 |
| Light was coming in from where the cut of the can was made, making the image hard to see. My solution to this was to wrap 2 pieces of notebook paper around the entire can. |
 |
| At the end I tried out the camera obscura and saw that the images were a bit unclear. That's when I came to realize that I had forgotten to attach the lens over the hole I had made with a corkscrew. I quickly attached the lens with tape and tried out my homemade camera obscura again. |
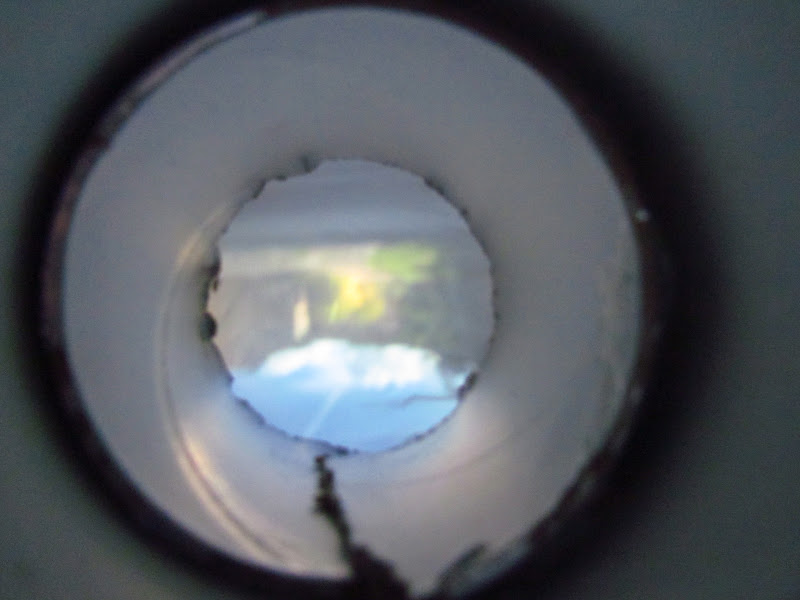 |
| My project was successful, an image was shown upside down on the plastic bag screen. |
|
|
No comments:
Post a Comment